I love Halloween, I love the lanterns and the spookiness and the excuse to eat lots of things that are bad for you. I’ve been looking for ideas on Pintrest and wanted to do a tutorial on some simple but awesome cupcakes. I’ve ended up splitting it into two posts, the first is based on the children’s book Room on the broom and would work for any event where there were fans of the story. The second post is on more traditional Halloween monster cupcakes. There’s also a separate post with a recipe spooky gingerbread biscuits.
I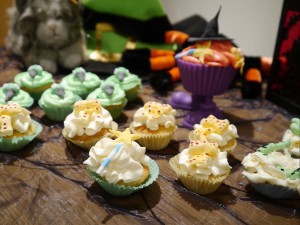 made the cupcakes and frosting using my standard recipes. I wanted to show that these can be done without a lot of specialist equipment so all of the colours are from the Wilton 8 icing colour gel pack. The frosting was piped with various star nozzles. Any nozzle would do. I picked some of the objects and characters from the book:
The Witch
The bow from the witch’s plait
The wand
The Frog
The Bird
Making the witch
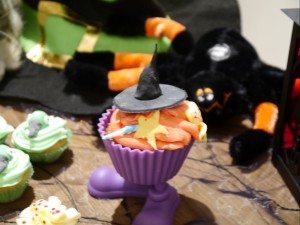
I bought some silicone cupcake cases with feet for my son’s 1st birthday cake (a caterpillar). Since then they’ve languished in various drawers gathering dust, but I thought it might be nice to make an abstract witch. The witch wears a purple skirt and red top so here we have the purple cupcake case and red coloured frosting piped in a spiral which starts at the outside and works in. Decorating the cupcake are a hat, bow and wand (all the things she drops in the story).
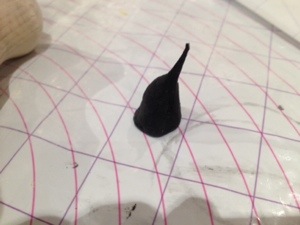
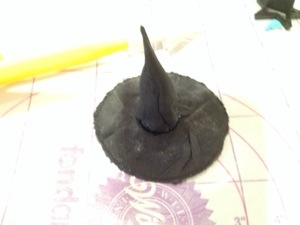
To make the hat I used ready coloured black floral paste. The floral paste dries harder than normal fondant meaning it won’t go floppy (as long as you don’t seal it in a biscuit tin which traps moisture).
Cut out a circle for the base of the hat. I don’t have the right size cutter so use an upside down shot glass. (From my pre-kiddie days)
Mould a blob of paste into a cone for the rest of the hat. To make the sharp tip I just pulled the point upwards.
To make the bow and the wand I used white Renshaw flower and modelling paste and coloured it with the gel colours.
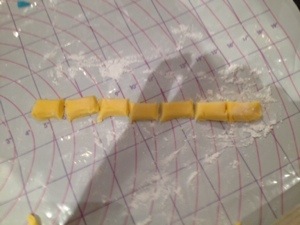
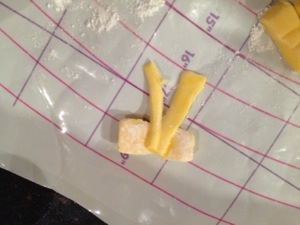
For the bows I used yellow gel colour kneaded through the modelling paste. I cut out a long rectangle then divided it into shorter pieces.
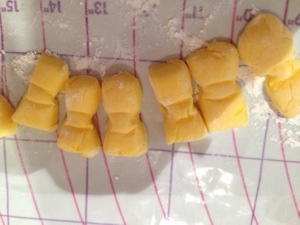
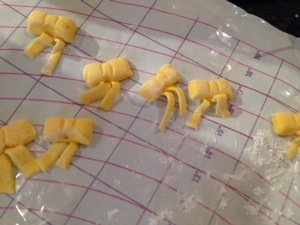
Next I made a dents on either side of the middle of each piece for the centre of the bow with a cone shaped modelling tool. I added lines for detail with a mini pizza wheel like tool.
I added the tails of the bow t the back using edible glue. You could use water to do this but it will take longer for the bows to set. I then arranged the tails to give an effect of movement.
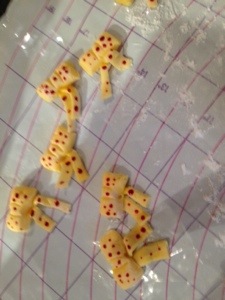
Finally I used a cocktail stick dipped in the red gel colour t add dots to the bow.
I used modelling tools for this but you could easily make do with a small knife and the handle of a wooden spoon.
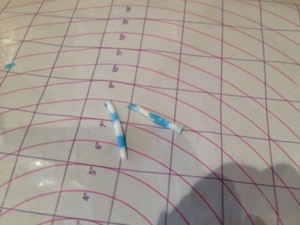
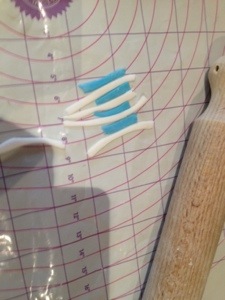 To make the handles of the wand I made stripes of blue and white modelling paste then rolled them into a sausage shape. I used some more of the yellow coloured paste to add a star to the end and attached with edible glue. I think the end result was quite cute to look at and my son is very impressed
Bows and Wands
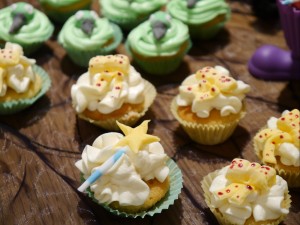
I made some mini cupcakes in petit four cases (I bought a mini muffin tray recently and have been itching to use it). The bows I made earlier went perfectly with the yellow cases. I added a star of frosting to the top of each and added the bows and wands.
Making the green bird
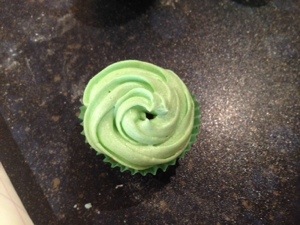
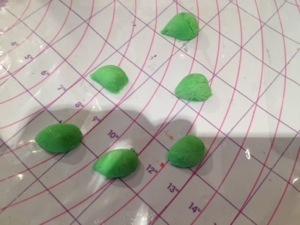
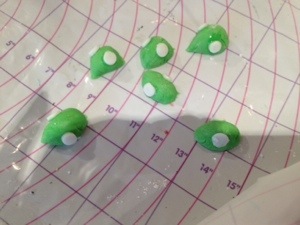
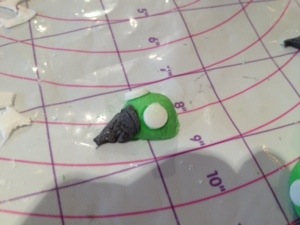
The green petit four cases were perfect for the green bird. I made her head by colouring modelling paste green and rolling it into balls. I then cut these balls in half, shaped them slightly into a tear drop shape and added eyes and a beak with edible glue. To make the pupils of the eyes I used a cocktail stick dipped in the black gel colour. I used a small star nozzle to swirl the frosting starting at the outside and working in.
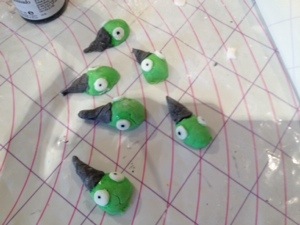 I found it amazing how the bird heads looked nothing like the character until I added the pupils and then they were perfect.
Making the frog
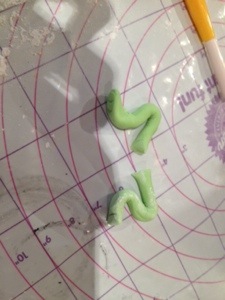
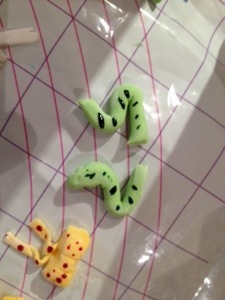
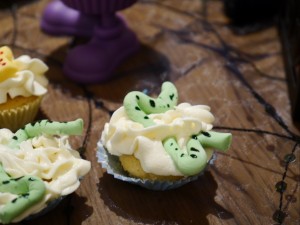
To be honest this was a bit of an after-thought because I had some petit fours left over. I mixed a little green and yellow modelling paste to make a lighter green and rolled a thin sausage. I used sections of this to shape frogs legs and added green gel colour for the markings. Probably the least successful of the designs but still quite cute :).
<div align="center"><a href="http://www.vevivos.com/post-comment-love" title="Post Comment Love"><img src=" http://i1322.photobucket.com/albums/u568/ToriWel/4e4a1bf6-07cb-494b-b06e-f959b1fe1311_zps654d027a.jpg" alt="Post Comment Love" style="border:none;" /></a></div>



these look amazing!! xx
Very inspiring! My girls are going to love this.
Ace! We LOVE Room on the Broom in our house 🙂 x
Oh how very clever. Off to pin
These are amazing! We love Room on the Broom so what a very clever theme 🙂 Thank you for linking to PoCoLo x
I love these! We’re having a Halloween party this year and I am going to try them! Thanks so much!
Those cakes look awesome!!! 🙂 x
Wow! They look fab x
These are absolutely amazing. YOU are amazing. I shall await my invite for afternoon tea and cake.
Honestly any help eating them is greatly appreciated 🙂 I regularly send stuff to hubby’s work to get it out of the house x
These look amazing. Great theme. #PoCoLo
I love the witches hats and the wands! We have a halloween themed bday for Lil Miss every year as her bday is just before Halloween & she loves Room on the Broom, this would be perfect, cheers missus 🙂
COR these look amazing! I love the witch’s hat. I wish I could get crafty with things but I always end up losing my patience. I should put more effort in to doing things like this 🙂
My kids loved the book and would adore trying to ‘help’ making these.
#PoCoLo
Too nice to eat!
I agree with susan I wouldnt want to eat these after going to all the effort! very cute cakes 🙂
LOVE these. i threw a Room on the Broom birthday party for Burton back in July and these would have made a wonderful additon x
You’re super skilled at these – they sound delish! [ever thought of zombie cupcakes?]
I’ve not done zombies but there are some monster ones in the post I published today. Also there are some super scary biscuits coming soon.
Wow these are amazing! Thank you! My daughter’s favourite book at the moment is Room on the Broom so never mind Halloween I think I might try these out for her birthday!
Love these, especially the ones with the feet 🙂 Definitely agree, when I make creatures etc, it’s not until the eyes go on that they look like they’re meant too 🙂