We’ve been in our house now for eight years, and the kitchen has always been good enough, as in there was nothing so wrong with it that justified replacing it. This year though the units began actually falling to pieces and the oven began burning cakes on one side while leaving them underdone on the other, meaning I finally convinced my husband that we should completely refit, with new floor, units, worktops and ovens.
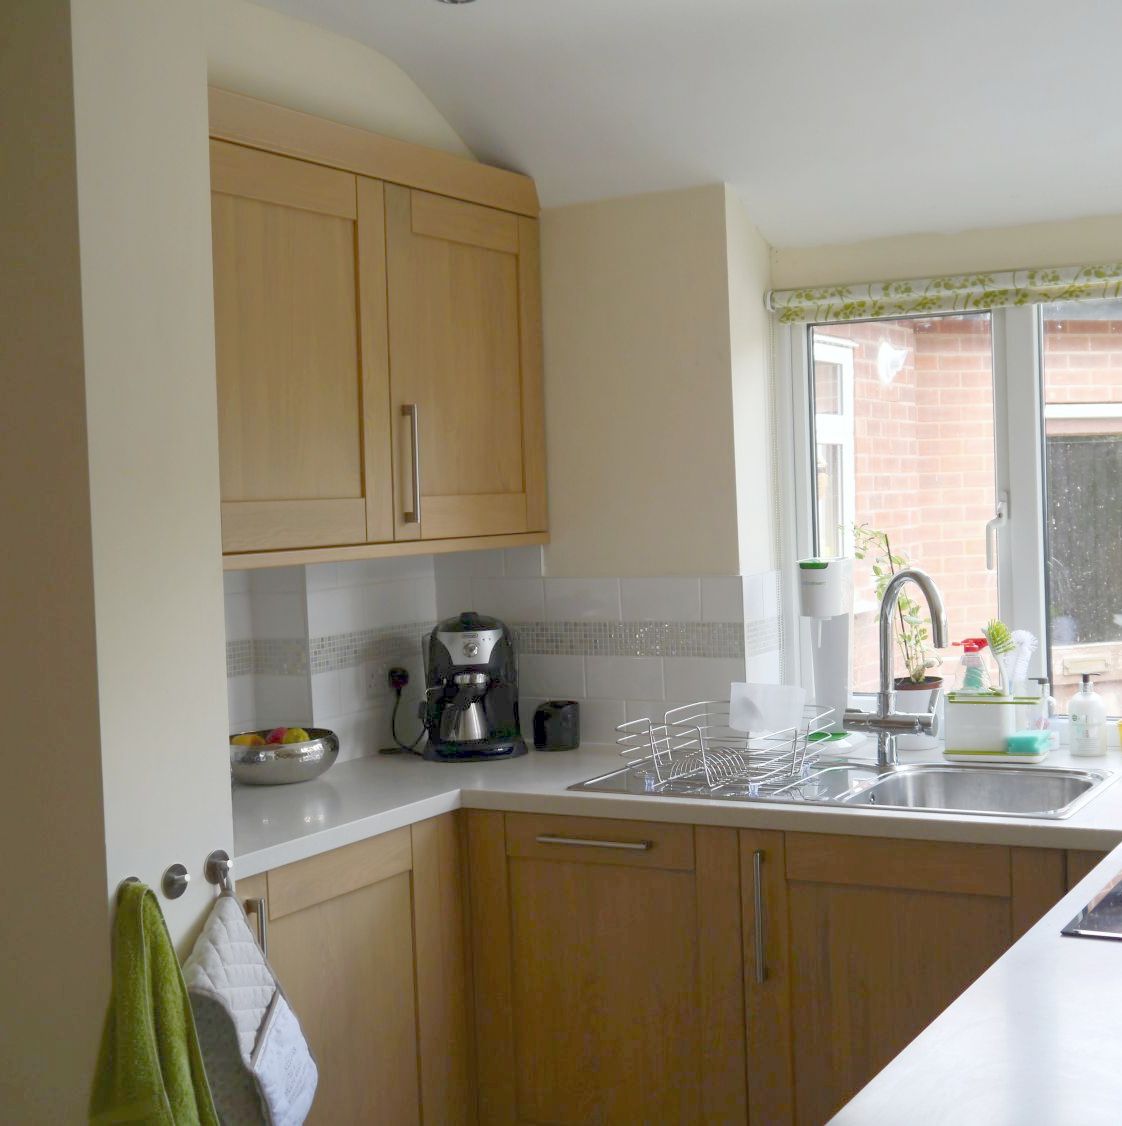
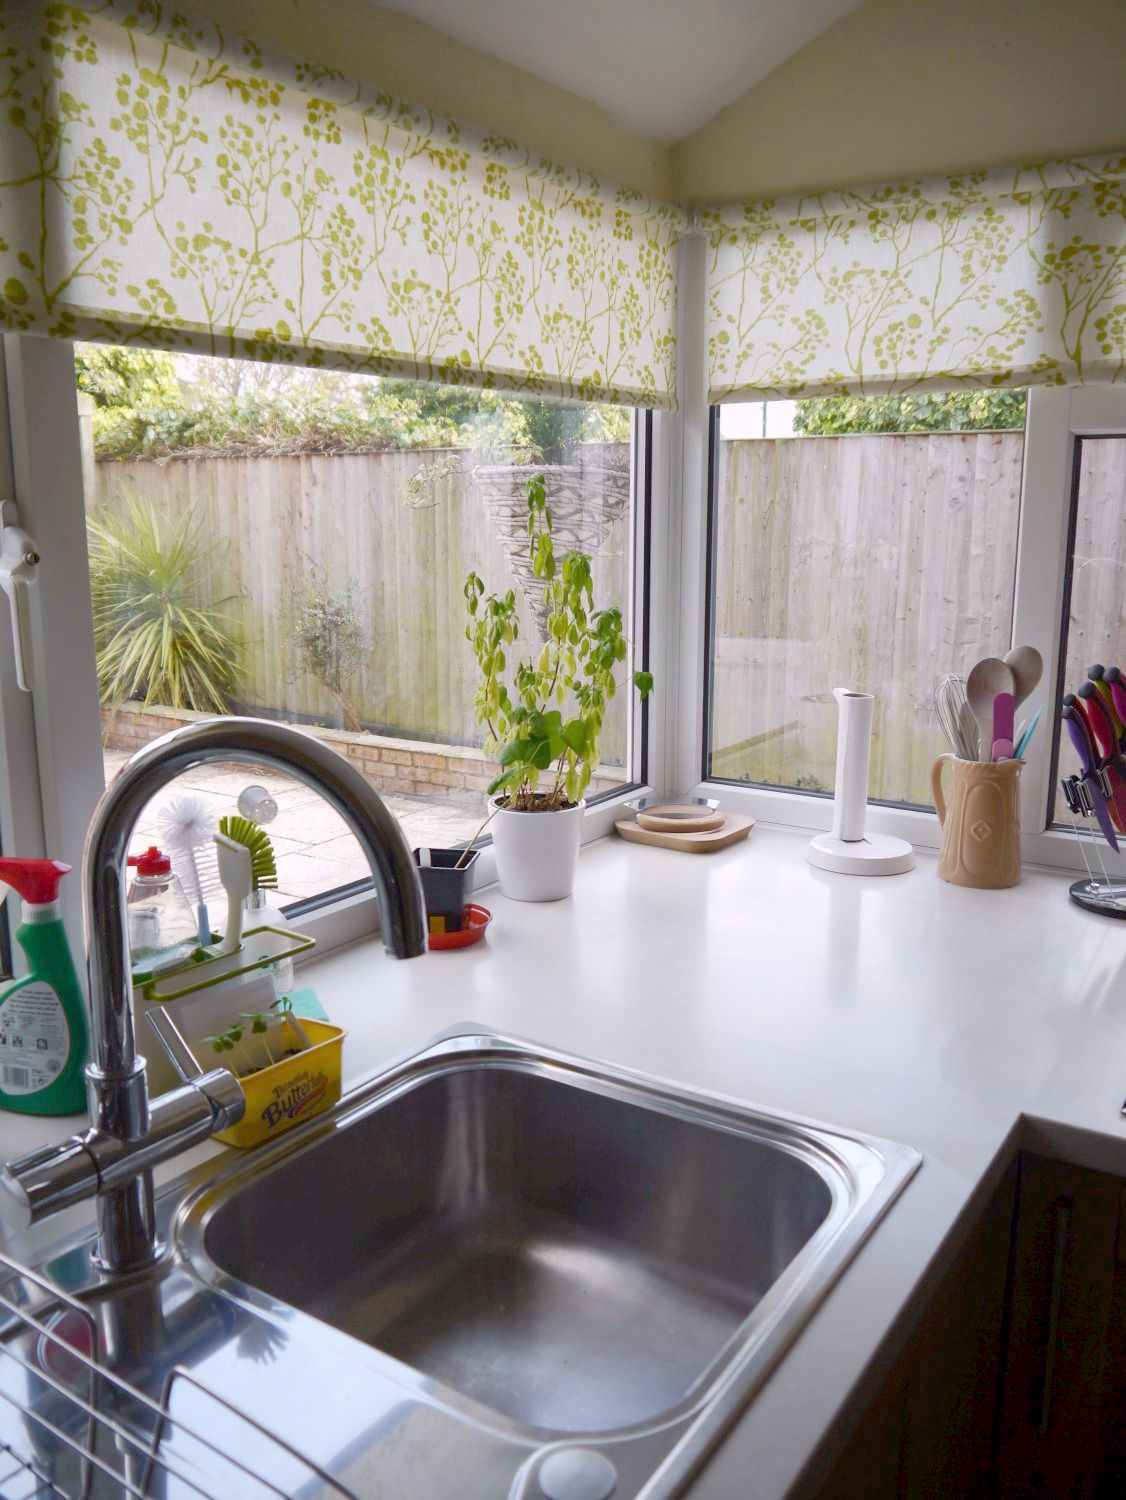
I spent a lot of time looking on sites like pintrest and through google image search to decide what kind of style would look good. Our table and some free standing cupboards are oak so I knew I wanted wood in the design some how. At first I thought about cream units and wooden work tops but after a bit of research it seemed like wooden worktops would take a lot of maintenance and potentially not be very hygienic, so I decided on wooden cupboards instead. With wooden cupboards I knew I wanted a composite worktop which would be better quality than the cheaper laminates on the market. After considering a high gloss black option I eventually decided on Getacore Ivory Raindrops which is a cream quartz-like effect. This makes the room lighter and brighter and matches perfectly the “Burleigh” (now “Kamber”) high gloss porcelain tiles which we chose.
 The kitchen is from the Howden’s Tewkesbury Light Oak range with solid wood doors. We looked at vinyl wrapped mdf doors similar to our original kitchen but the Teweksbury range was such a beautiful finish that there was – in the end – no comparison. We were also slightly limited by the fact that I knew from the start that I wanted curved cupboards at the end of the breakfast bar and not all ranges offered this. The end result is very sleek and gives us extra storage, although it did mean finding a built in bin of a reasonable size to replace the one we used to have at the end of the breakfast bar for recycling and general waste. The food and general-waste bins are now both hidden in cupboards under the hob and sink, making the kitchen look tidier and also meaning no more opening germ ridden lids to throw something away – we just open the cupboard doors.
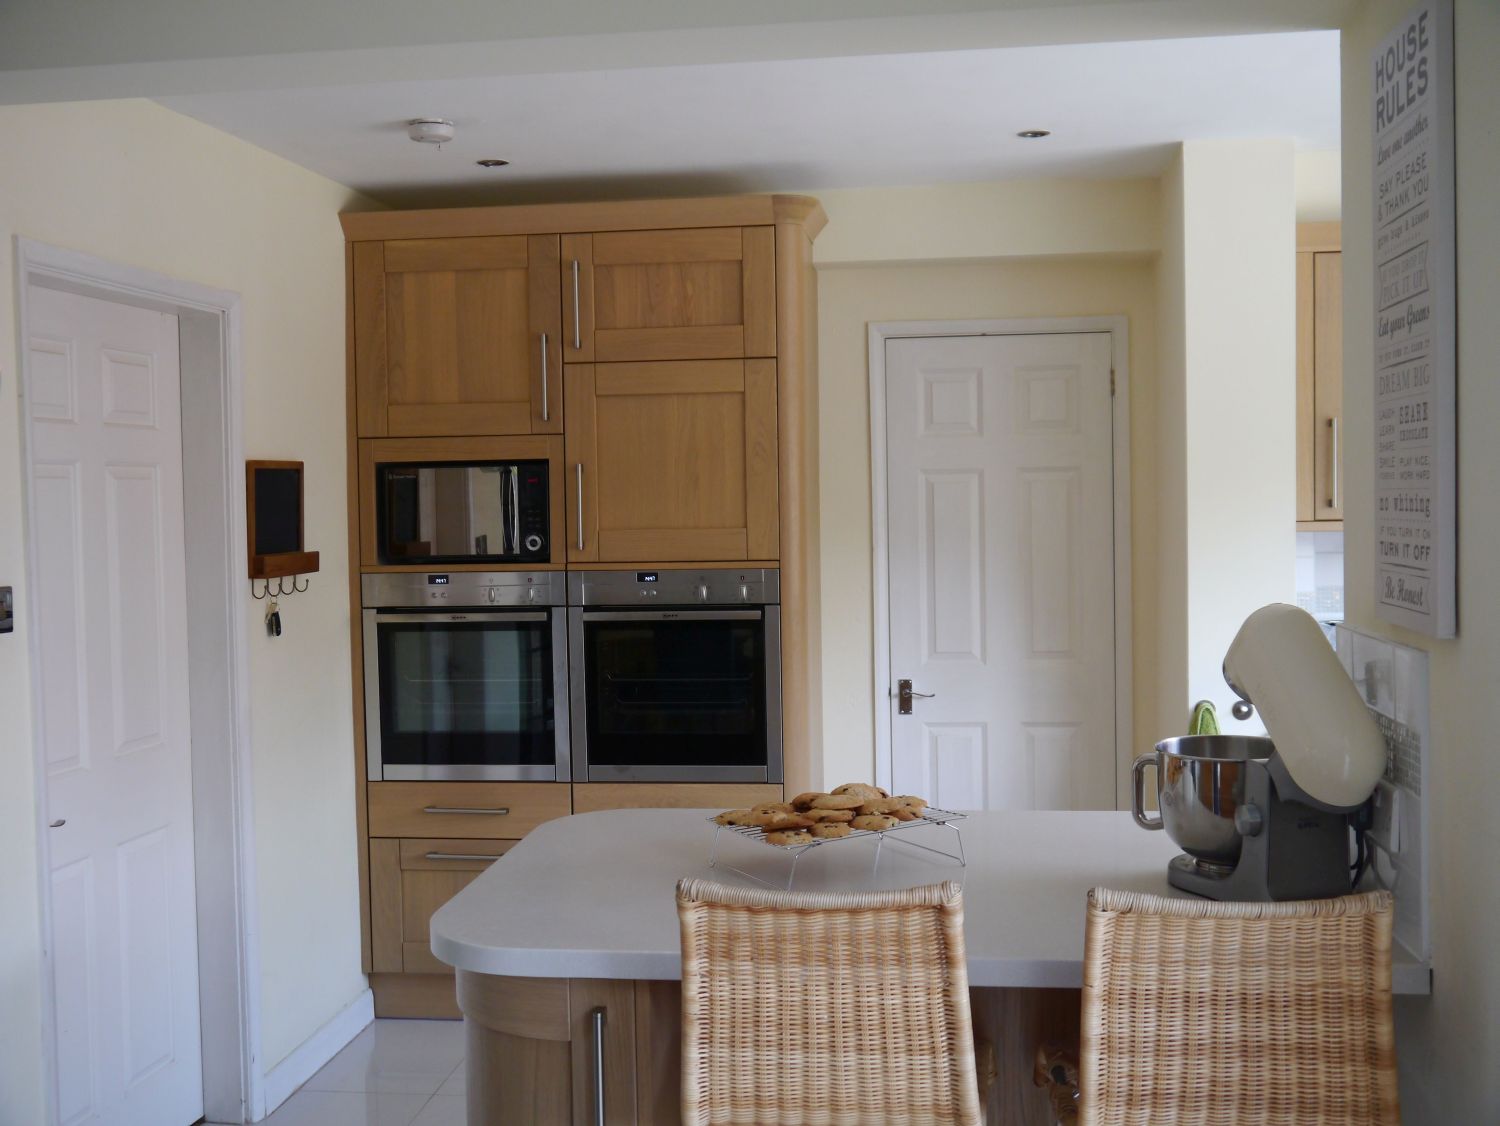
 Ever since we moved into our house I’ve known that if we re-did our kitchen I wanted eye-level ovens built into a tower unit on the wall – originally this space had wall and floor cupboards with some extra worksurface, but being able to see at a glance how the food is doing more than makes up for this. I chose Neff slide ‘n hide ovens so that children running ’round corners have less chance of bumping into open doors and our existing microwave was fitted in above the ovens to clear off the remaining worktop space. We further reduced clutter on our worktops by investing in a Grohe Red Duo tap which produces boiling water and gets rid of the need for a kettle – the only down side I would say to this solution (apart from the price) is that the tank, filter and other attachments needed for the tap take up a lot of space themselves, limiting space under the sink to the point that we ended up with the tank itself in the neighbouring cupboard so that we could still fit our food waste bin under the sink.
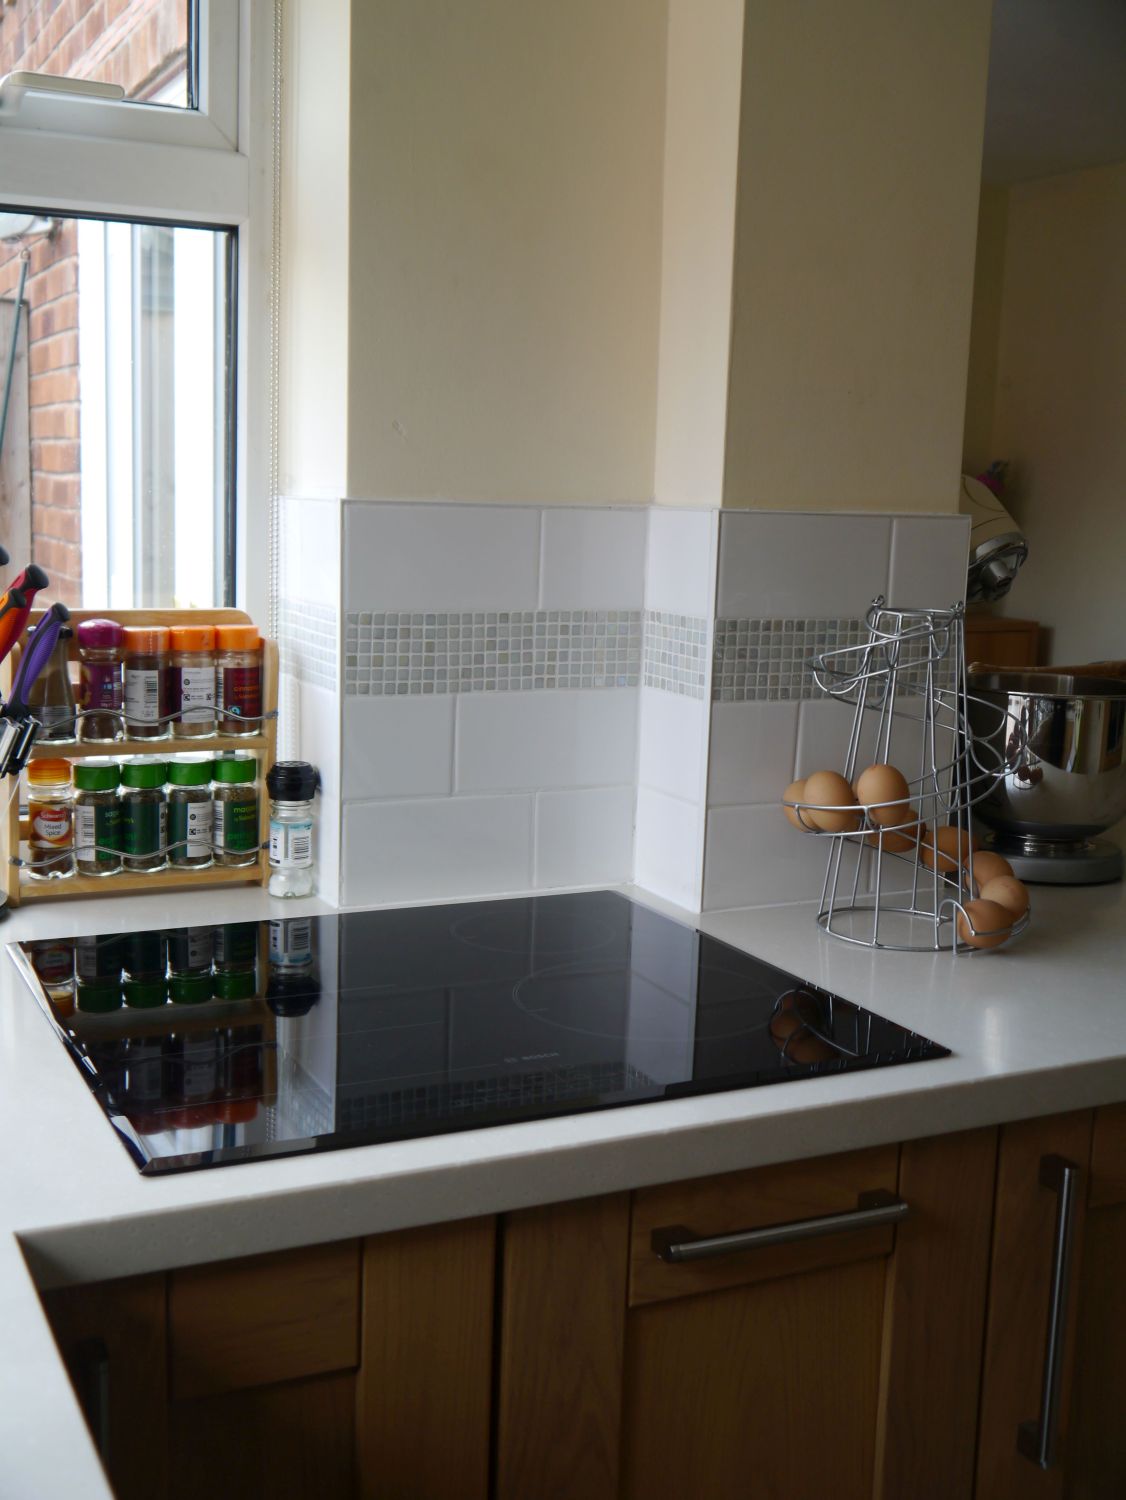
 We chose a Bosch induction hob which can just be wiped clean – a much easier job than with our old gas hob – you just have to check any pans you buy are magnetic – no expensive copper bottomed pans for me!
Howden’s is a company which works with independent fitters – it means that rather than going into a shop and designing your kitchen then meeting the person fitting the day they start work, you find your kitchen fitter first then work with them to design what you want. Having heard of lots of problems with store designed kitchens not fitting quite right I liked this idea – we worked with our fitter Pete from IKF Chester Ltd (who was recommended by a friend) from the start, meaning that he saw the layout of the room, understood what I wanted to achieve and worked with us to fit in all the fiddly bits and pieces I wanted. I can highly recommend IKF Chester Ltd. – they worked really hard to get everything just as I wanted it, even when the mosaic tiles I’d chosen as part of the splash-backs arrived and were about half the thickness of the surrounding tiles.
 Finally I chose green accents and bought blinds with a “Budding Blossom Grass” design from Web Blinds, some Joseph and Joseph green and cream bits and bobs and used green hand towels which I already had. Overall I think I now have my dream kitchen – what would yours look like?
 I have to admit that I don’t really believe in Christmas starting before December, the Christmas aisles springing up before Halloween is over and done with annoy me and I have an annual grumble about it. However, on Friday it will be December, our (multiple) advent calendars will get started (Lego, MLP, traditional etc.) so when I saw a nutcracker this week I broke my no early decorations rule and bought him. He was only £7 and I thought a bit of a bargain. Since I couldn’t face finding the decorations box to put him away he now has pride of place in my dining room.


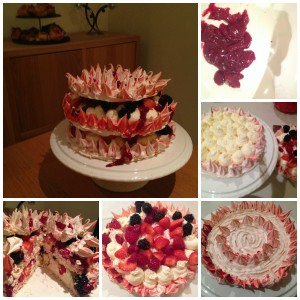 Including the pavlova style meringue crown was perfect as it’s my favourite dessert which I usually only make at Christmas. I thought a crown with lots of teeth dripping with blood would be her kind of thing so I made an italian meringue (80g of egg white to 215g castor sugar, heated with a little water to 113.5c) which holds it’s shape when piped and then baked it in the oven at 150c to crisp it up. It was made of two 9 inch discs and a smaller top to make the crown. Whipped cream, blackberries, raspberries and strawberries made the filling along with a thick raspberry “jelly” (according to Mary Berry this week it isn’t jam if the seeds are sieved out), made with less sugar than traditional jam to keep it tart enough to offset the sweet meringue.
 The snail buns are made by rolling out the bread dough between the first and 2nd prove and filling with parma ham and grated mozzarella cheese in a similar method to my


 Once upon a time a little boy aged 7 and 1/4 was sent a book called ‘The Christmasaurus’ by the kind people at Penguin Random House and he absolutely loved it!
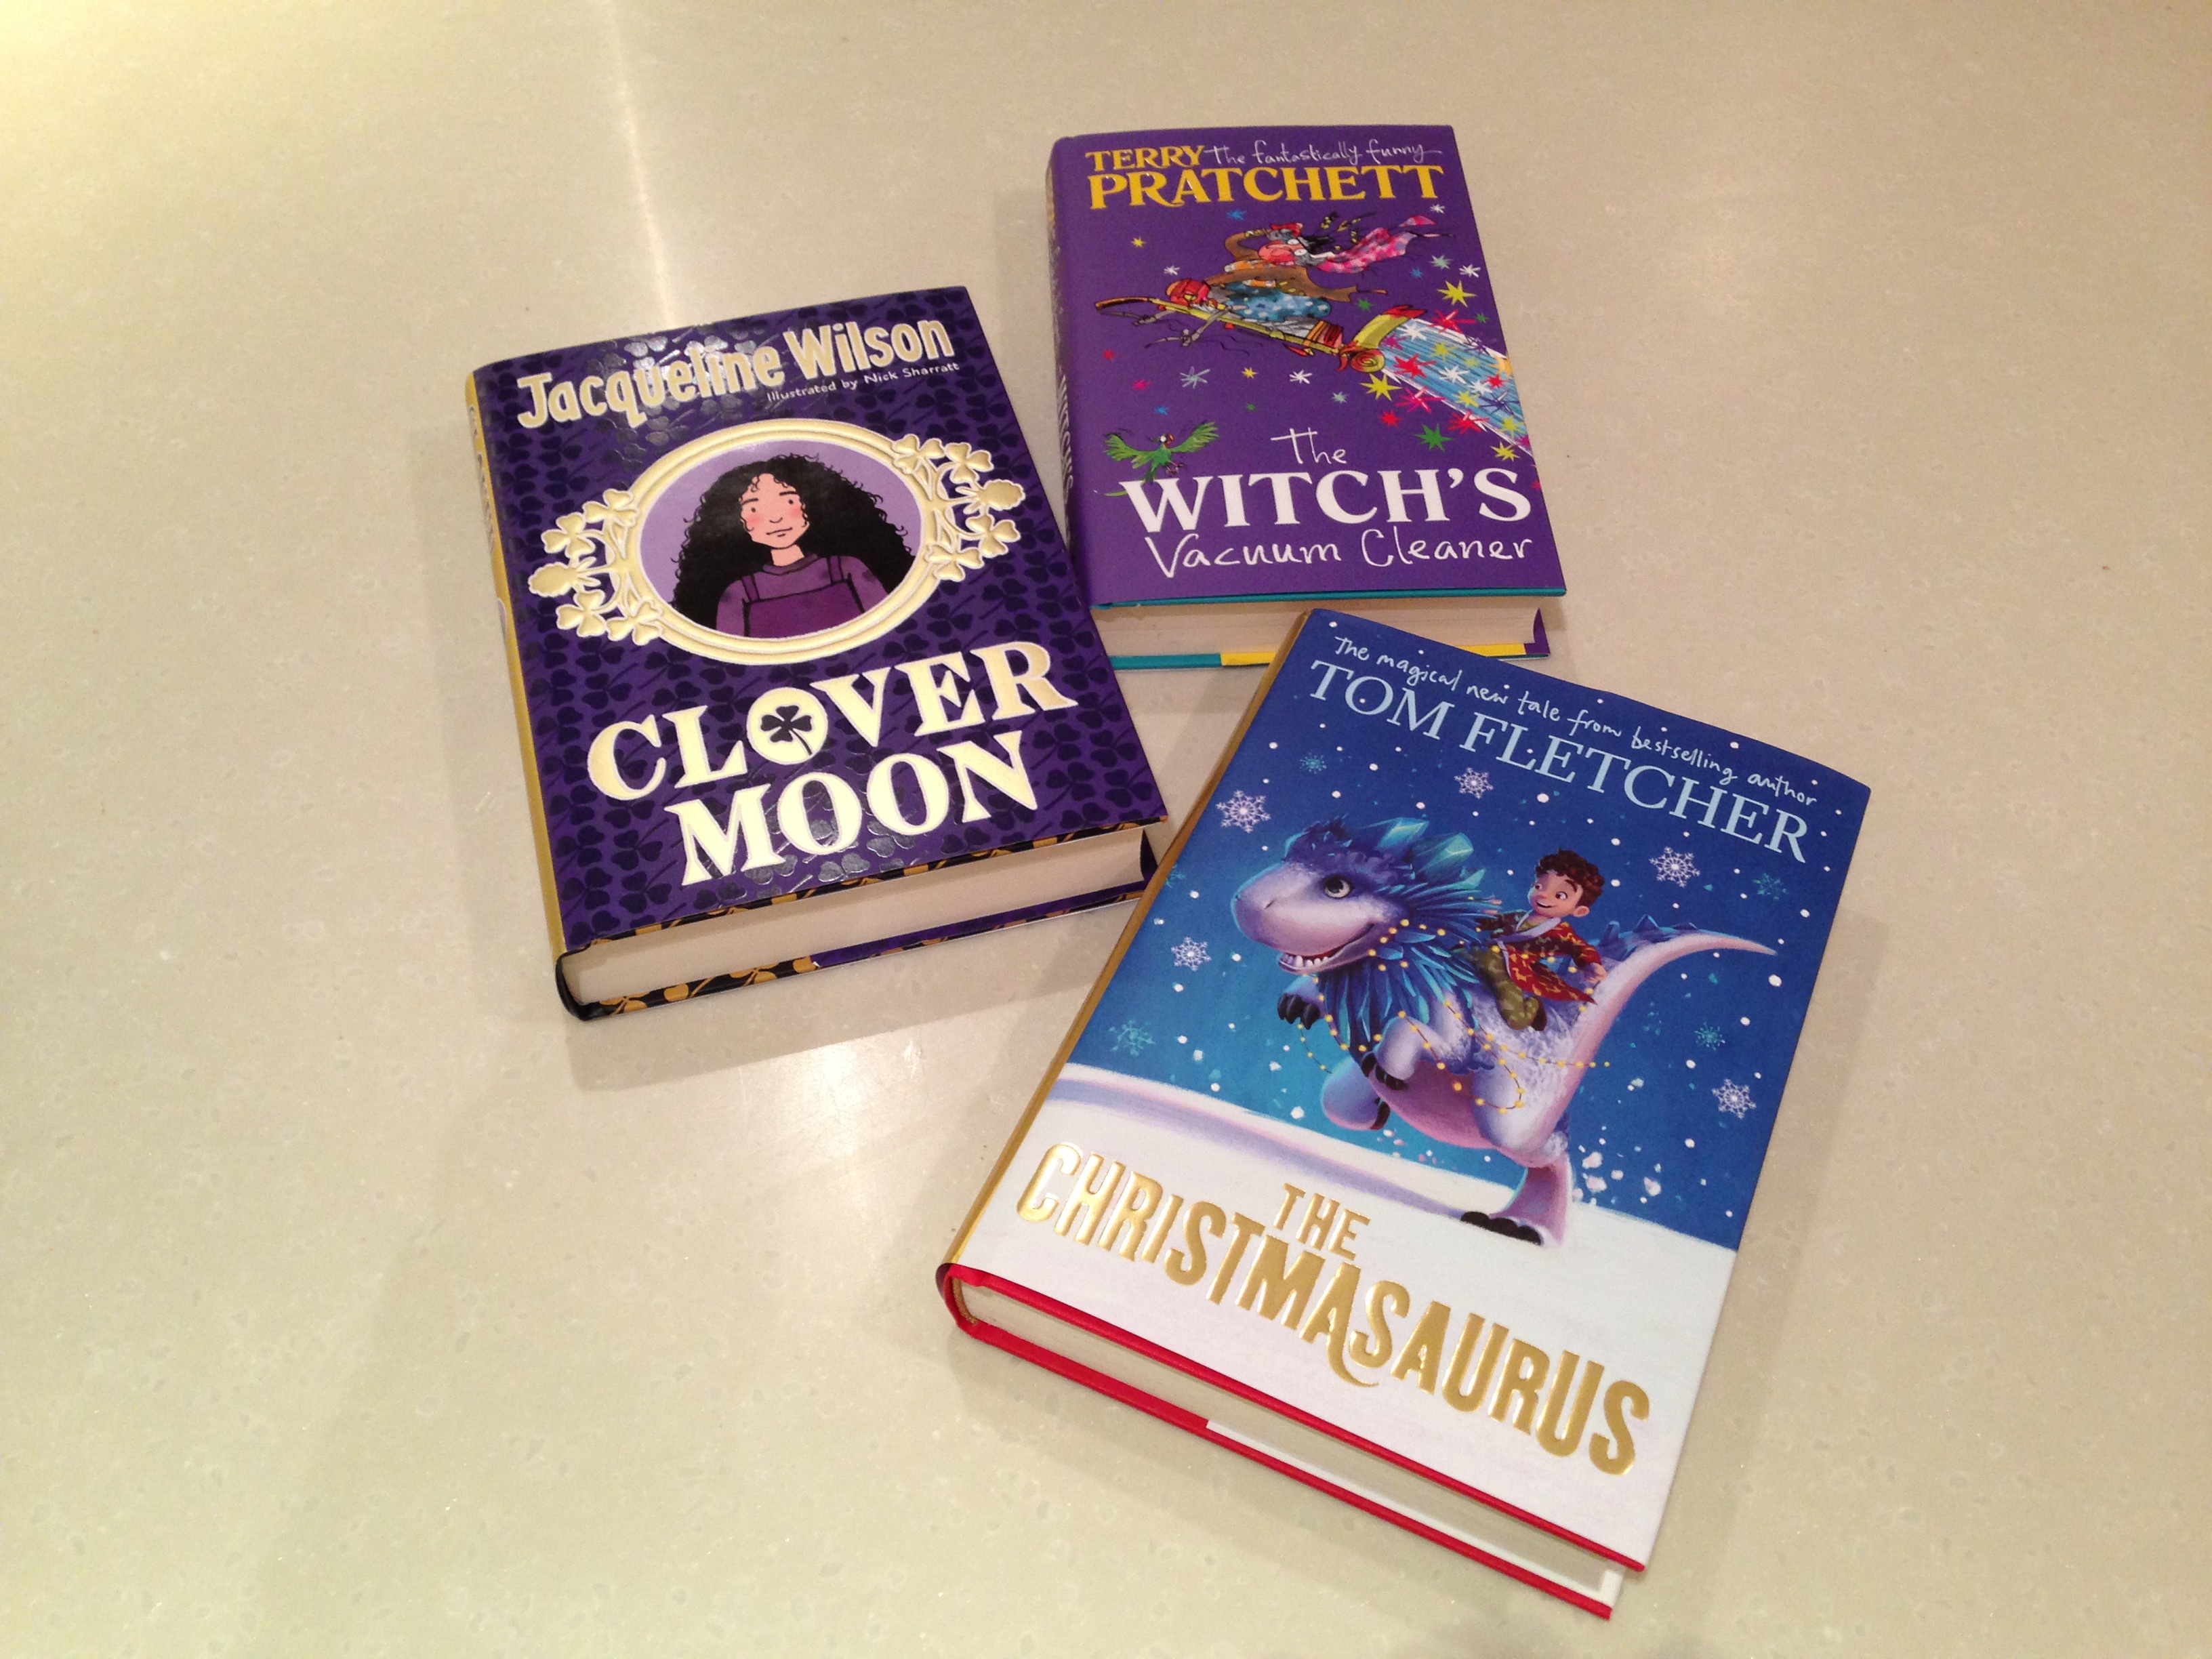
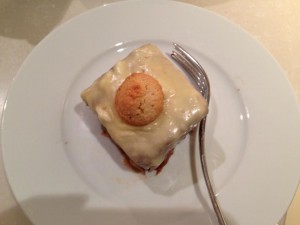 Life has been a bit hectic this year so this is my first week joining in with the Great Bloggers Bake off, I usually try to join in every week but life was winning this year. All though I haven’t been baking I have been watching and I really wanted to try the fondant fancies. I’ve developed a taste for amaretto in hot chocolate recently and I love amaretti biscuits so I thought I would have a go at some amaretto flavoured fondant fancies with chocolate buttercream and mini amaretti biscuits.
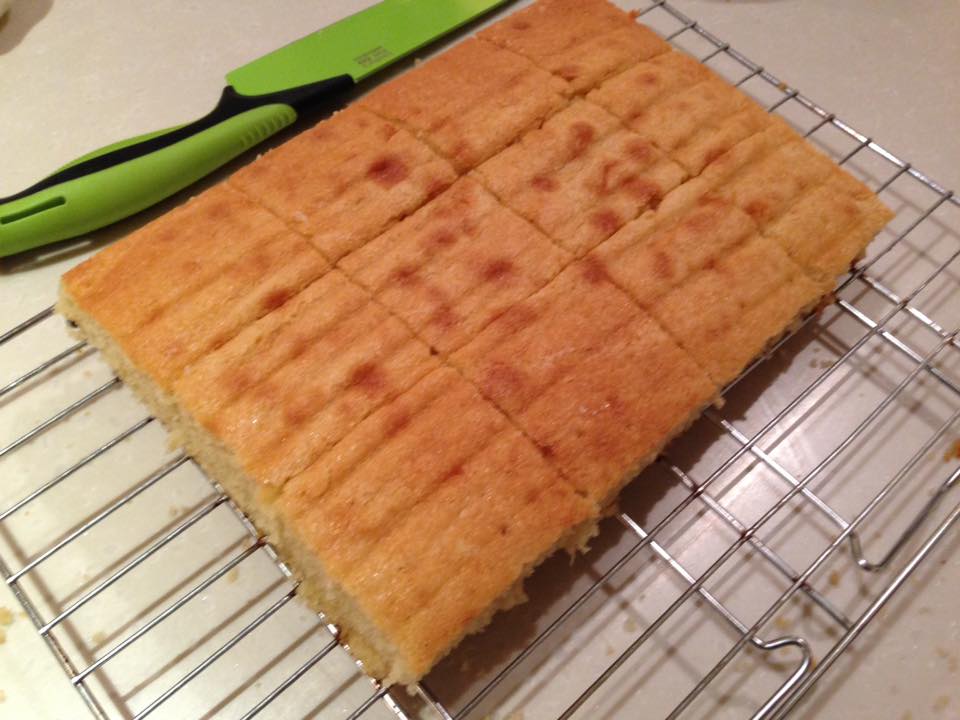


 This week the lovely people at