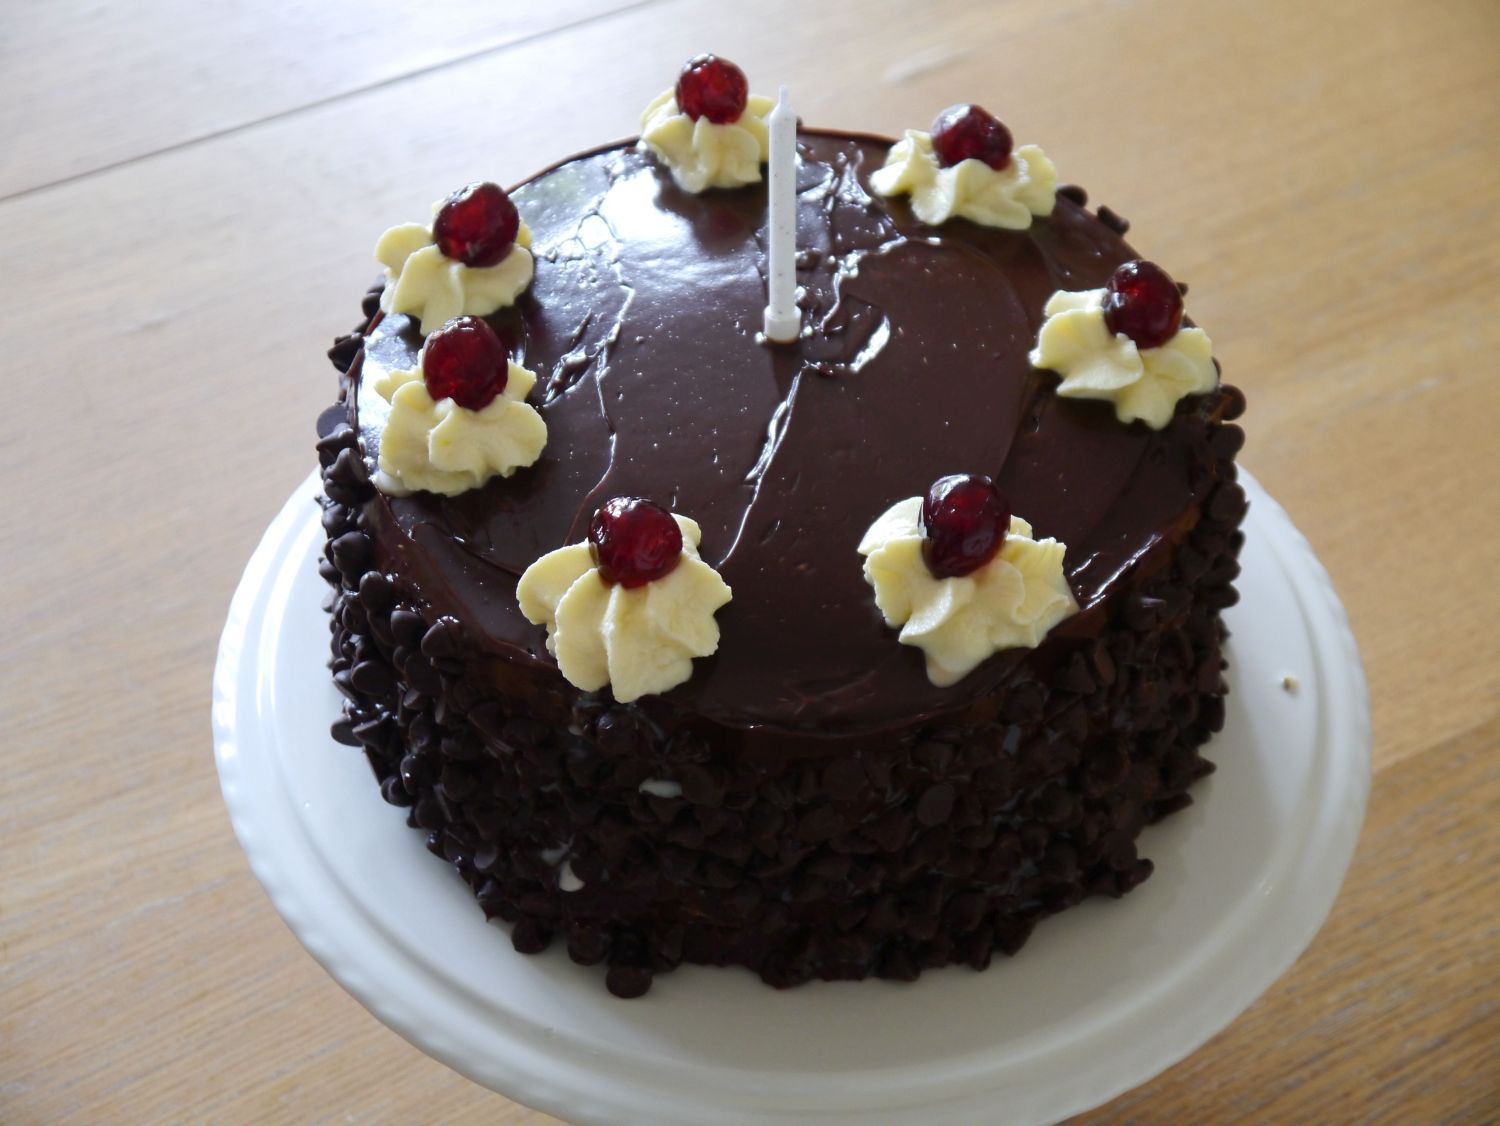
The gre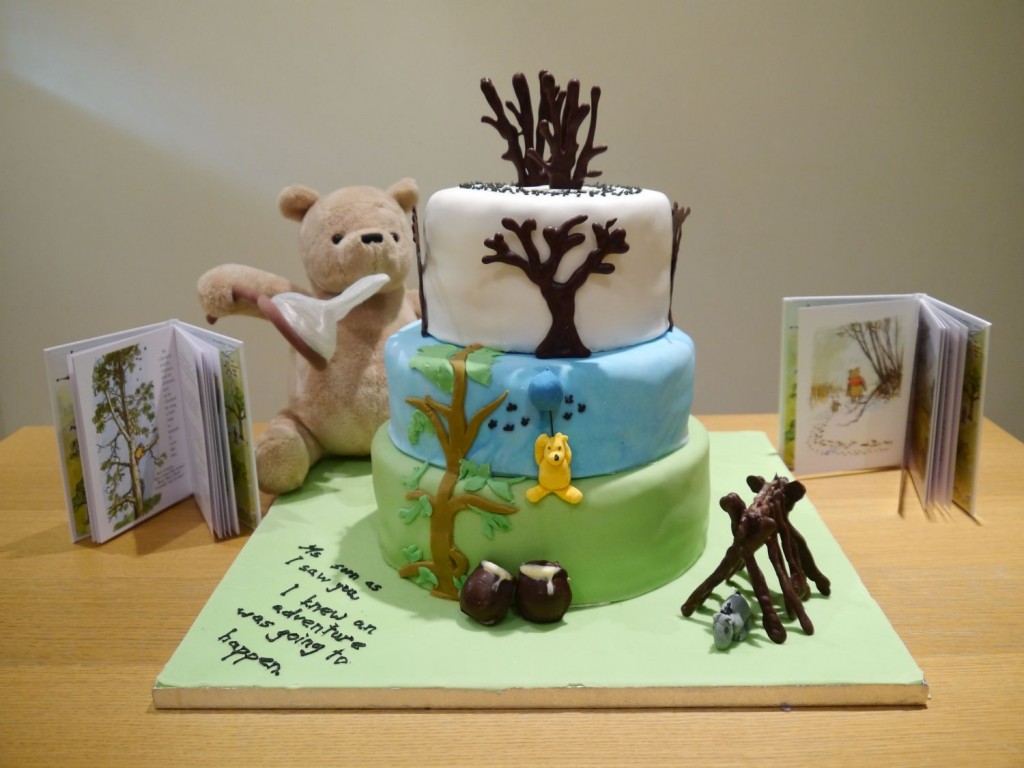 at British bake off finished for another year this week and I really think the right person won this year. The final showstopper challenge was a multi tiered classic British cake and one of my favourites is lemon cake. I wanted to make the decoration for the cake classically British as well and one of my favourite children’s books provided the inspiration. Winnie the pooh by A. A. Milne with the original illustrations by E. H. Shepard. The stories seemed perfect as they are part of so many people’s childhood, have some beautiful quotes in them and after all, what goes better with honey than lemon (cake)?
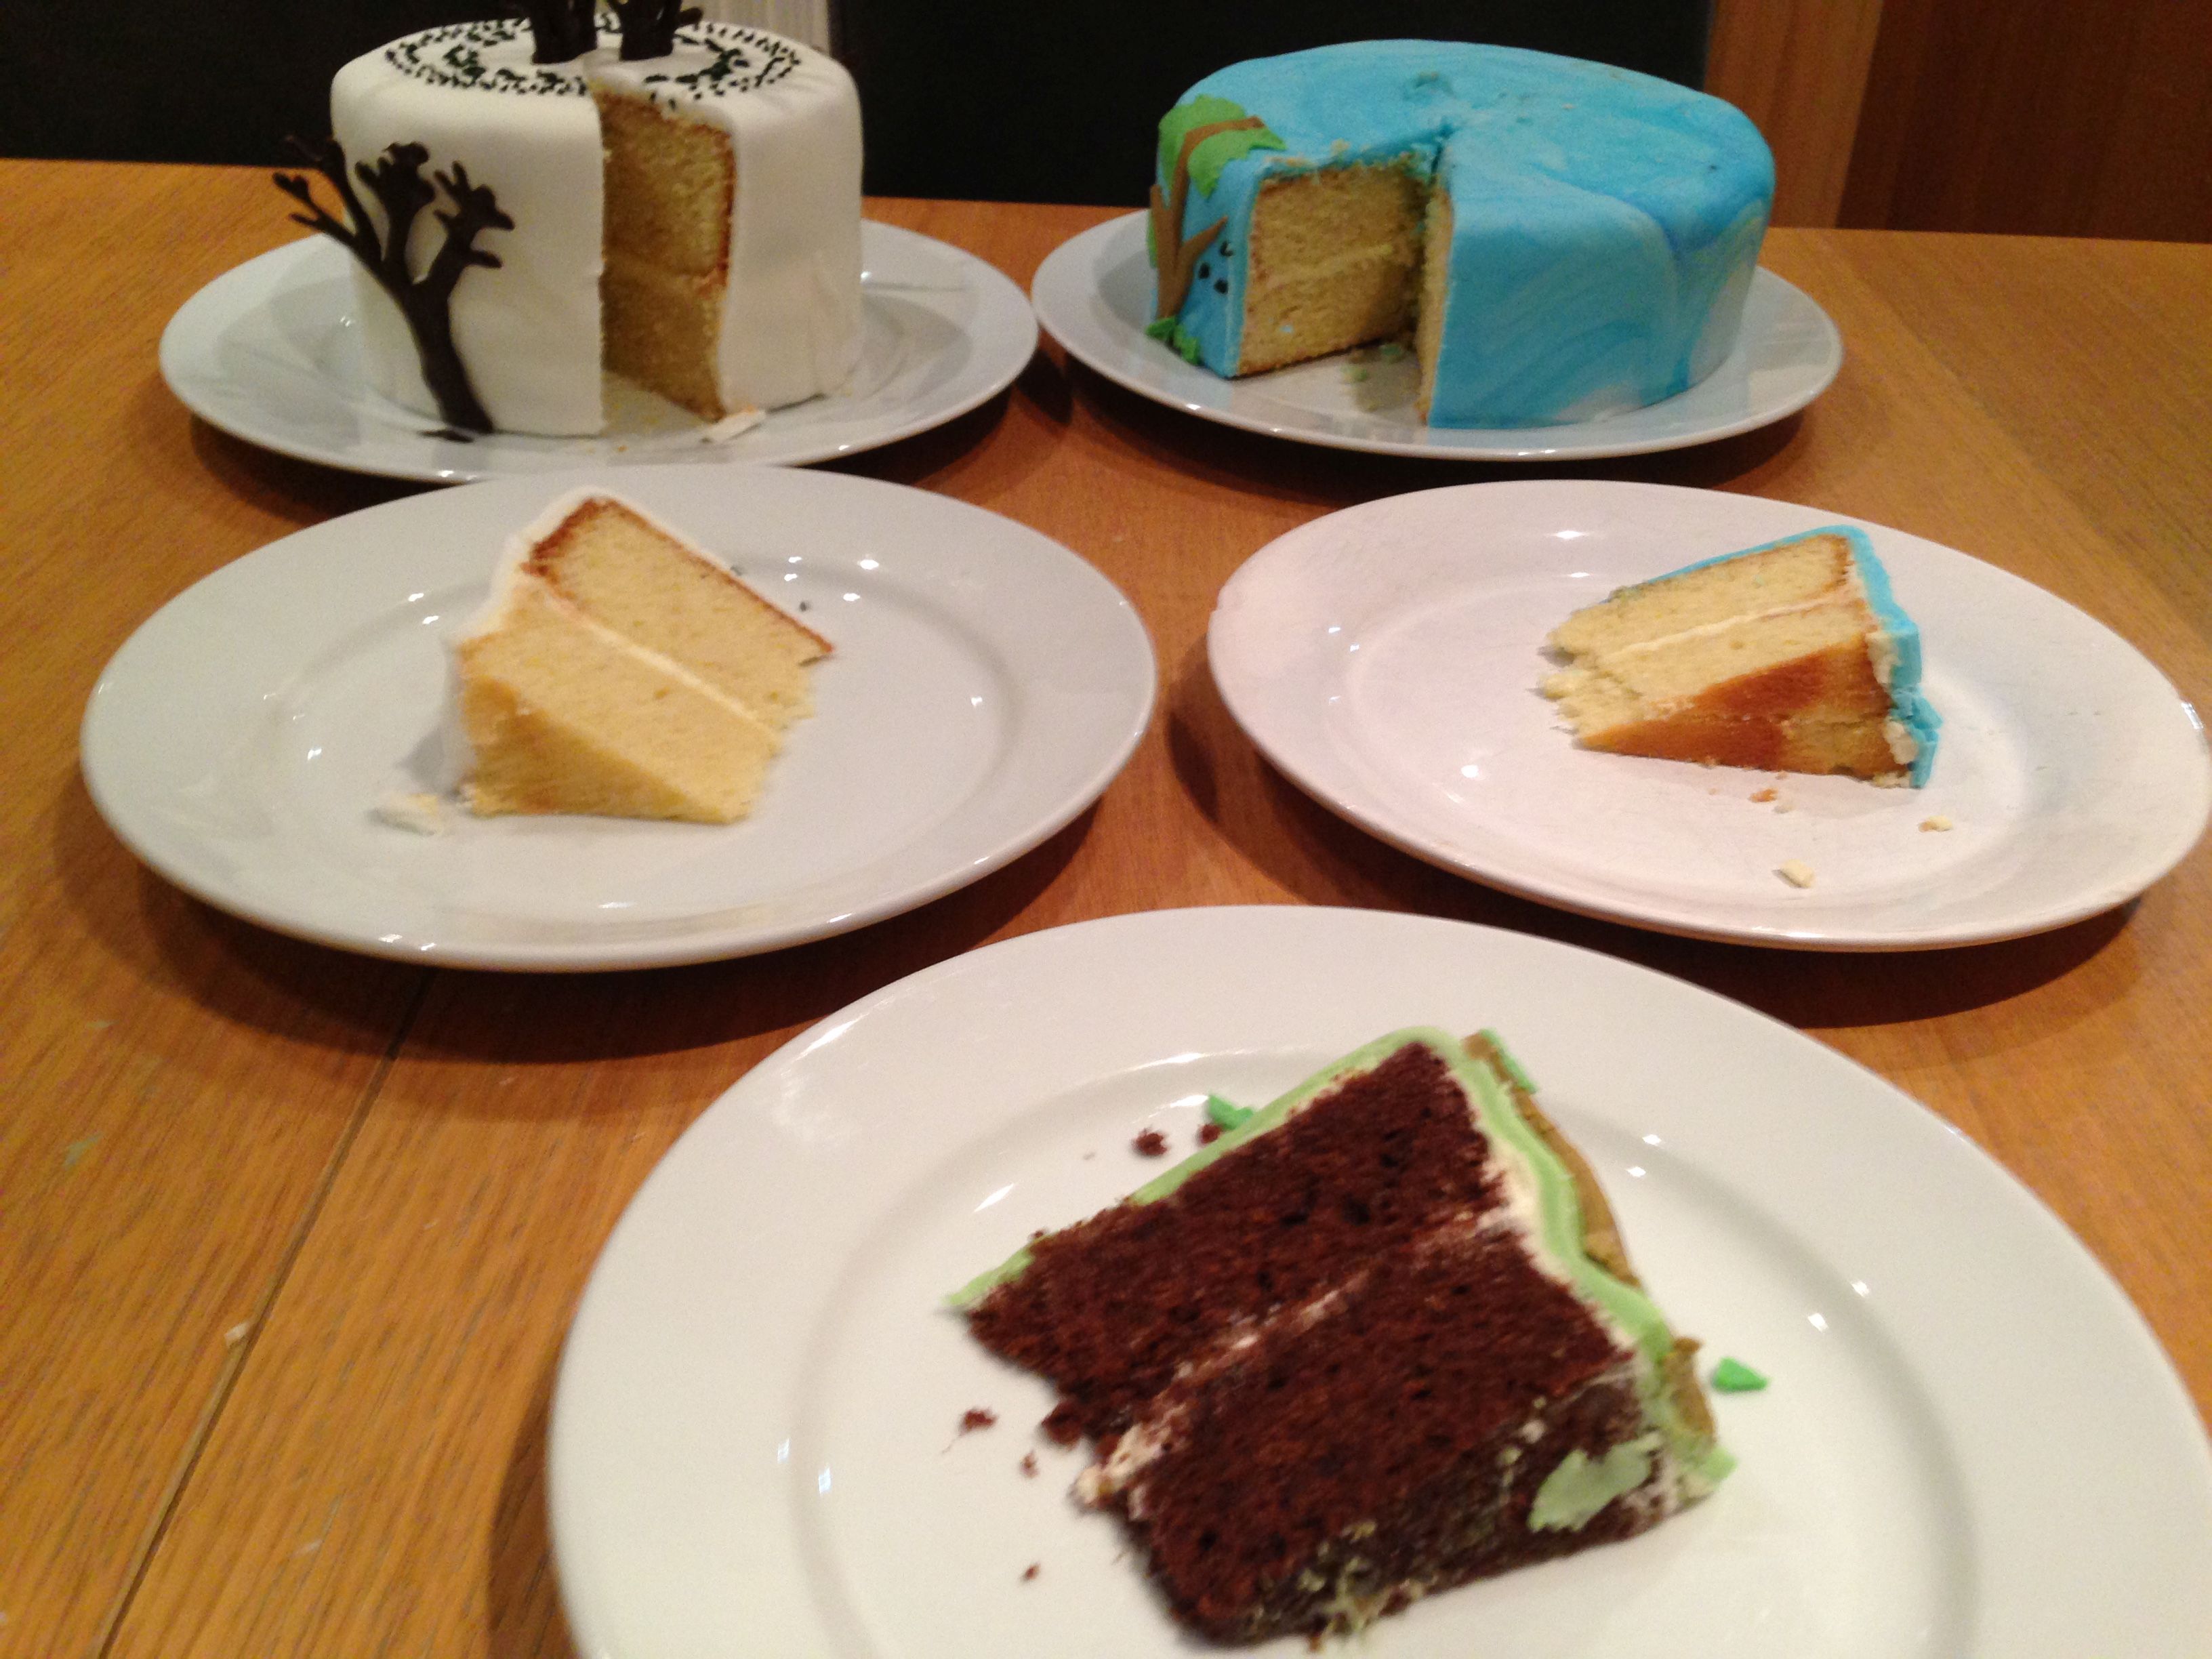
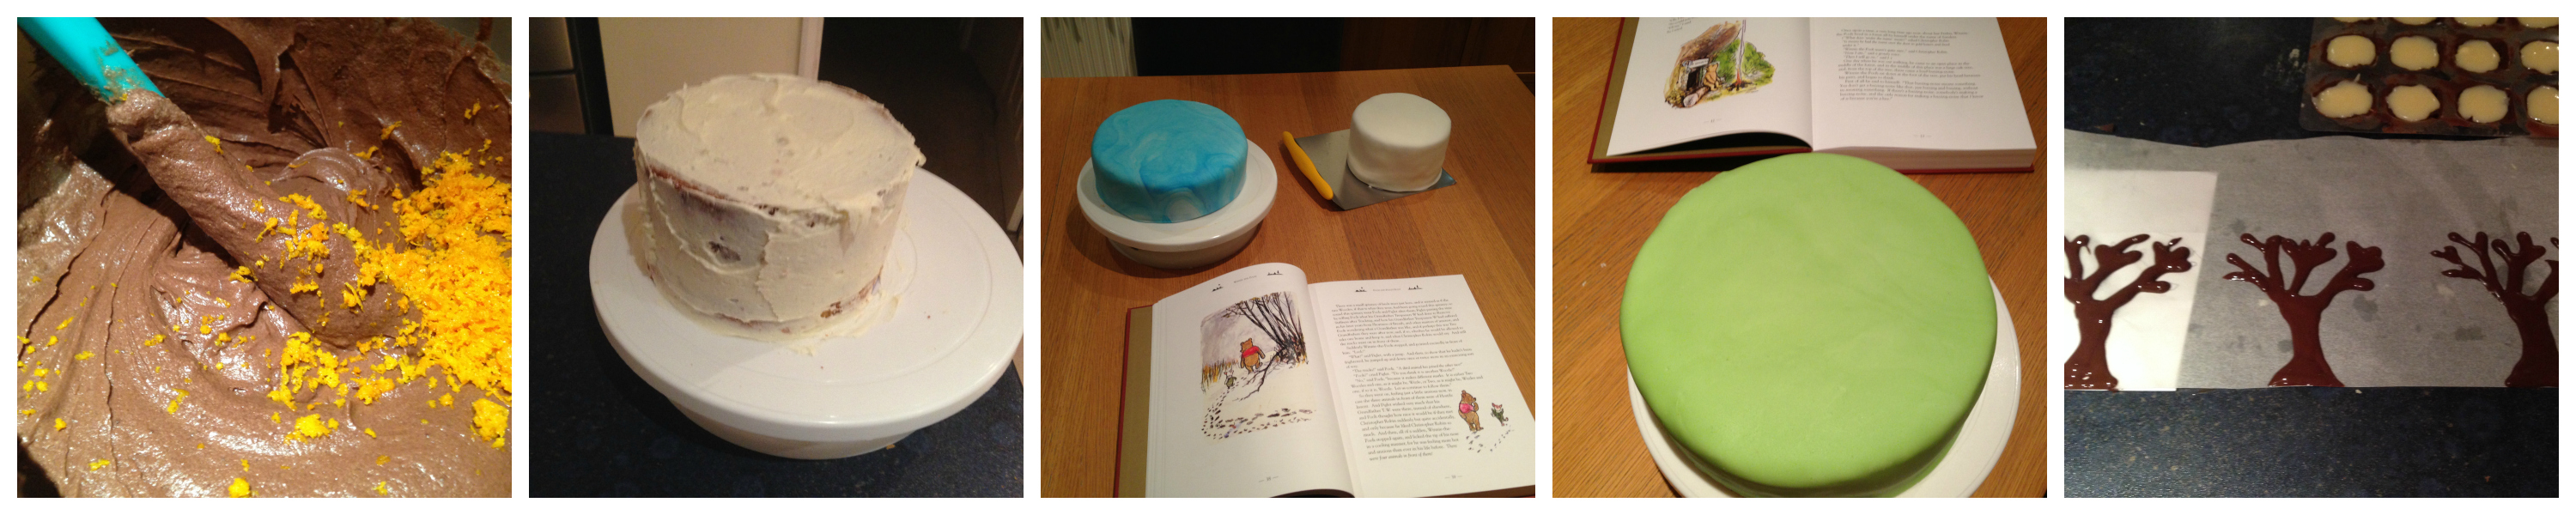
I admit that unlike the cakes in the final I only made two tiers as lemon cake and made the bottom tier as chocolate orange cake – simply because there’s only so much lemon cake that one family of four needs. I made tempered chocolate trees for the top tier, which is based on when Pooh and Piglet nearly catch a Woozle, I made a tempered chocolate house for Eeyore which stood at the base of the cake and I also made dark and white tempered chocolate honey pots filled with a white chocolate ganache. The bottom two tiers are inspired by Winne the Pooh and some bees, when Pooh pretends to be a little black raincloud to get to the bees’ honey. In the collage picture you can see the detail on the cake and also the artwork which inspired it.
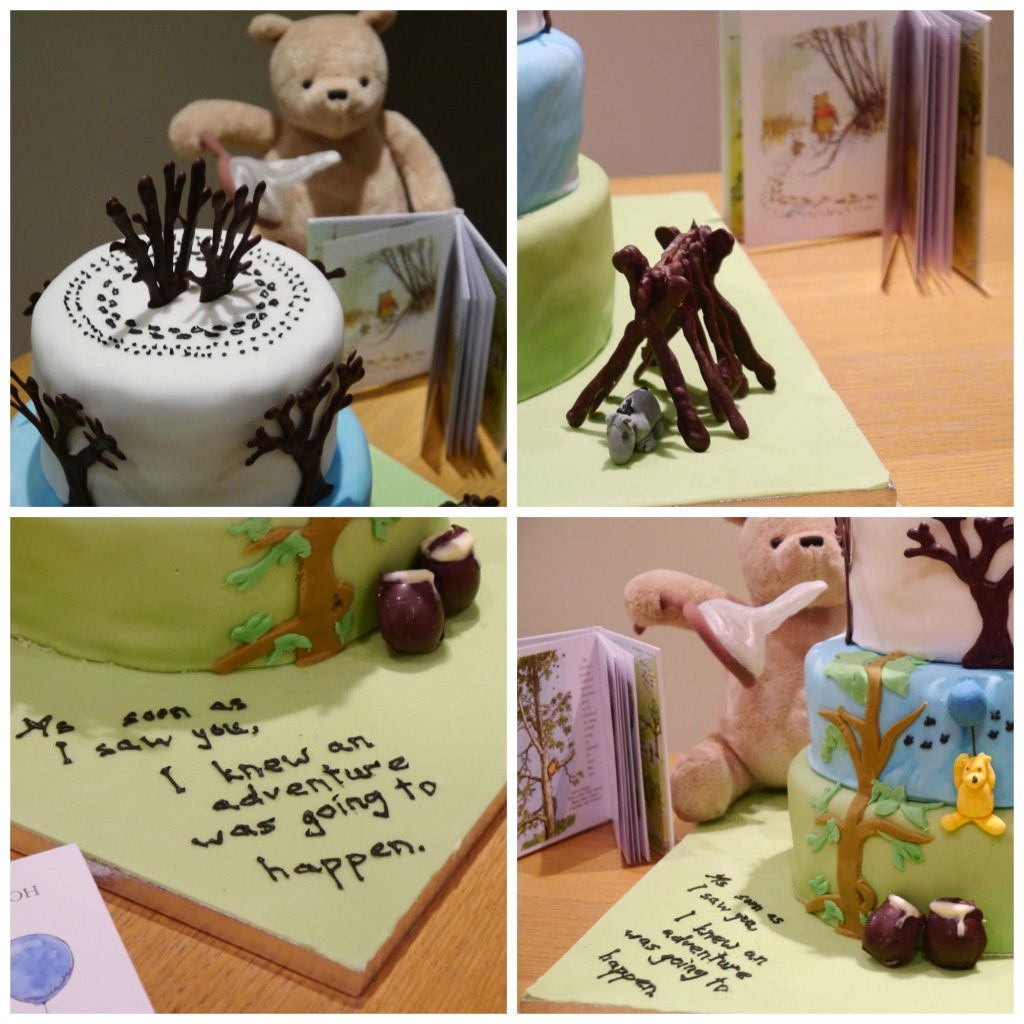 One of my favourite quotes from the Winnie the Pooh stories is “As soon as I saw you, I knew an adventure was going to happen”, it makes me think of when my children were born and I knew that life was never going to be the same.
Winne the Pooh, Eeyore and the balloon are made from flower paste which dries harder than normal fondant and decorated with the same black water icing I used for the quote,the buzzing bees around Pooh and the footprints in the snow. The tree is made from normal fondant icing – the same kind I used to cover the cakes and the cake drum (board).
To fill and crumb coat all three of the cakes the cakes I made a lemon frosting with the juice from the lemons whose zest I used in the lemon cakes. See below the recipe for a look inside the cakes.
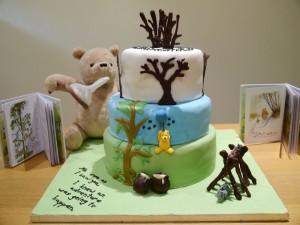
Winnie the Pooh lemon and chocolate orange showstopper
2015-10-15 16:59:09
Serves 30
Two tiers of lemon cake on top of a base tier of chocolate orange cake, filled with lemon frosting and decorated with fondant icing and tempered chocolate. You will need two 6 inch tins, to 8 inch tins and two 9 inch tins.
- 500g Caster sugar
- 500g Unsalted butter (softened)
- 8 eggs (beaten)
- 500g Self raising flour
- Zest of 5 lemons
- Approximately 50ml of whole milk (may vary)
- 500g Caster sugar
- 500g Unsalted butter (softened)
- 8 eggs (beaten)
- 410g Self raising flour
- 90g Cocoa powder
- Zest of 3 large oranges
- Approximately 75ml of whole milk (may vary)
- 1Kg icing sugar
- 320g Unsalted butter (softened)
- 100ml whole milk
- Lemon juice to taste - I like this quite tangy.
- 2Kg Ready to roll fondant icing
- Various gel food colourings
- 1 pack flower and modeling paste
- 200g Dark Belgian cooking chocolate
- 50g White Belgian cooking chocolate
- 50ml double cream
- Water icing
- Grease and line two 6 inch tins and two 8 inch tins. Preheat the oven to 160c fan or 180c non-fan.
- In a freestanding mixer cream together the butter and sugar until pale and mousse like.
- Add the beaten eggs a little at a time (add a few spoonfuls of the flour if the mixture starts to split).
- Stir in the flour.
- Stir in the lemon zest.
- Add the whole milk a little at a time until the mixture falls easily from a spoon.
- Split the mixture between the four cake tins and bake in the preheated oven for about 30 minutes or until a skewer comes out clean. Bear in mind that the smaller cakes may bake faster than the larger cakes and may need to be taken out earlier.
- Remove the cakes from the tins and leave to cool on wire racks.
- Grease and line two 9 inch tins. Preheat the oven to 160c fan or 180c non-fan.
- In a freestanding mixer cream together the butter and sugar until pale and mousse like.
- Add the beaten eggs a little at a time (add a few spoonfuls of the flour if the mixture starts to split).
- Mix together the flour and cocoa powder then stir into the egg mixture.
- Stir in the orange zest.
- Add the whole milk a little at a time until the mixture falls easily from a spoon - you will need to add more milk than for the lemon cakes as the cocoa powder makes the mixture more dry.
- Split the mixture between the four cake tins and bake in the preheated oven for about 40 minutes or until a skewer comes out clean.
- Remove the cakes from the tins and leave to cool on wire racks.
- In a freestanding mixer cream together the icin sugar and softened butter.
- Add the whole milk and mix on high speed until the mixture is smooth and light.
- While continuing to mix add lemon juice to taste - I added about 50ml but I like my frosting quite tangy.
- Level the cakes with a cake leveler or bread knife.
- Colour your fondant as appropriate, roll out on a non-stick mat then invert onto the cakes, peel off the mat and carefully smooth to remove any creases. Cut off excess fondant using a pizza wheel or knife.
- Temper the dark and white chocolate using the seeding method. I used chocolate moulds to make the honey pots and piped freehand onto grease- proof paper to make the sticks for Eeyore's house. To make the trees I sketched one on white paper and laid greaseproof paper on top before piping, moving the template along after creating each tree. Winnie the pooh, Eeyore and the balloon were made by hand from modeling paste, the tree nusing sugar craft tools from normal fondant.
- To make the white chocolate ganache filling for the honey pots add the cream (room temperature) to the tempered white chocolate and stir until combined then fill the chocolate honey pots, freeze for 10 minutes then join together with more tempered dark chocolate.
By jenny @ mummymakescakes
Mummy makes cakes http://jaisee.com/mummymakescakes/
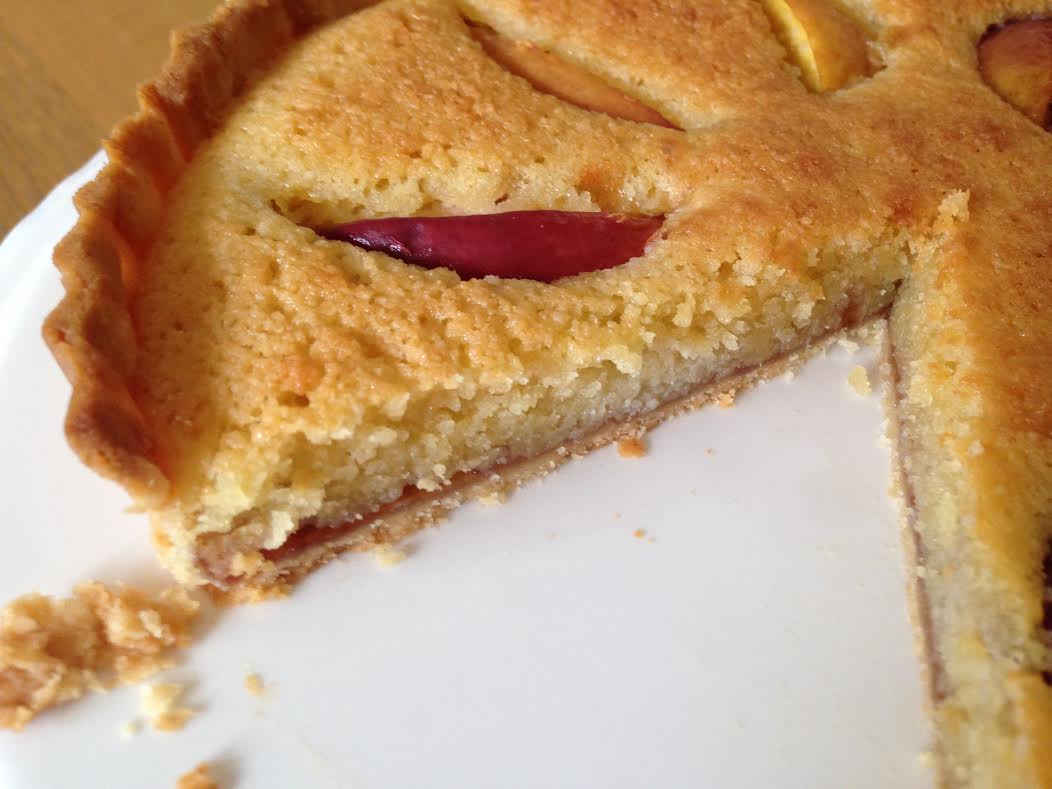
Inside the lemon cakes were a consistent texture just as Paul and Mary asked for. The chocolate orange cake came out pretty well too. Also below are a few photos of the making process.


For some reason this week also made a
classic carrot cake and some iced buns.
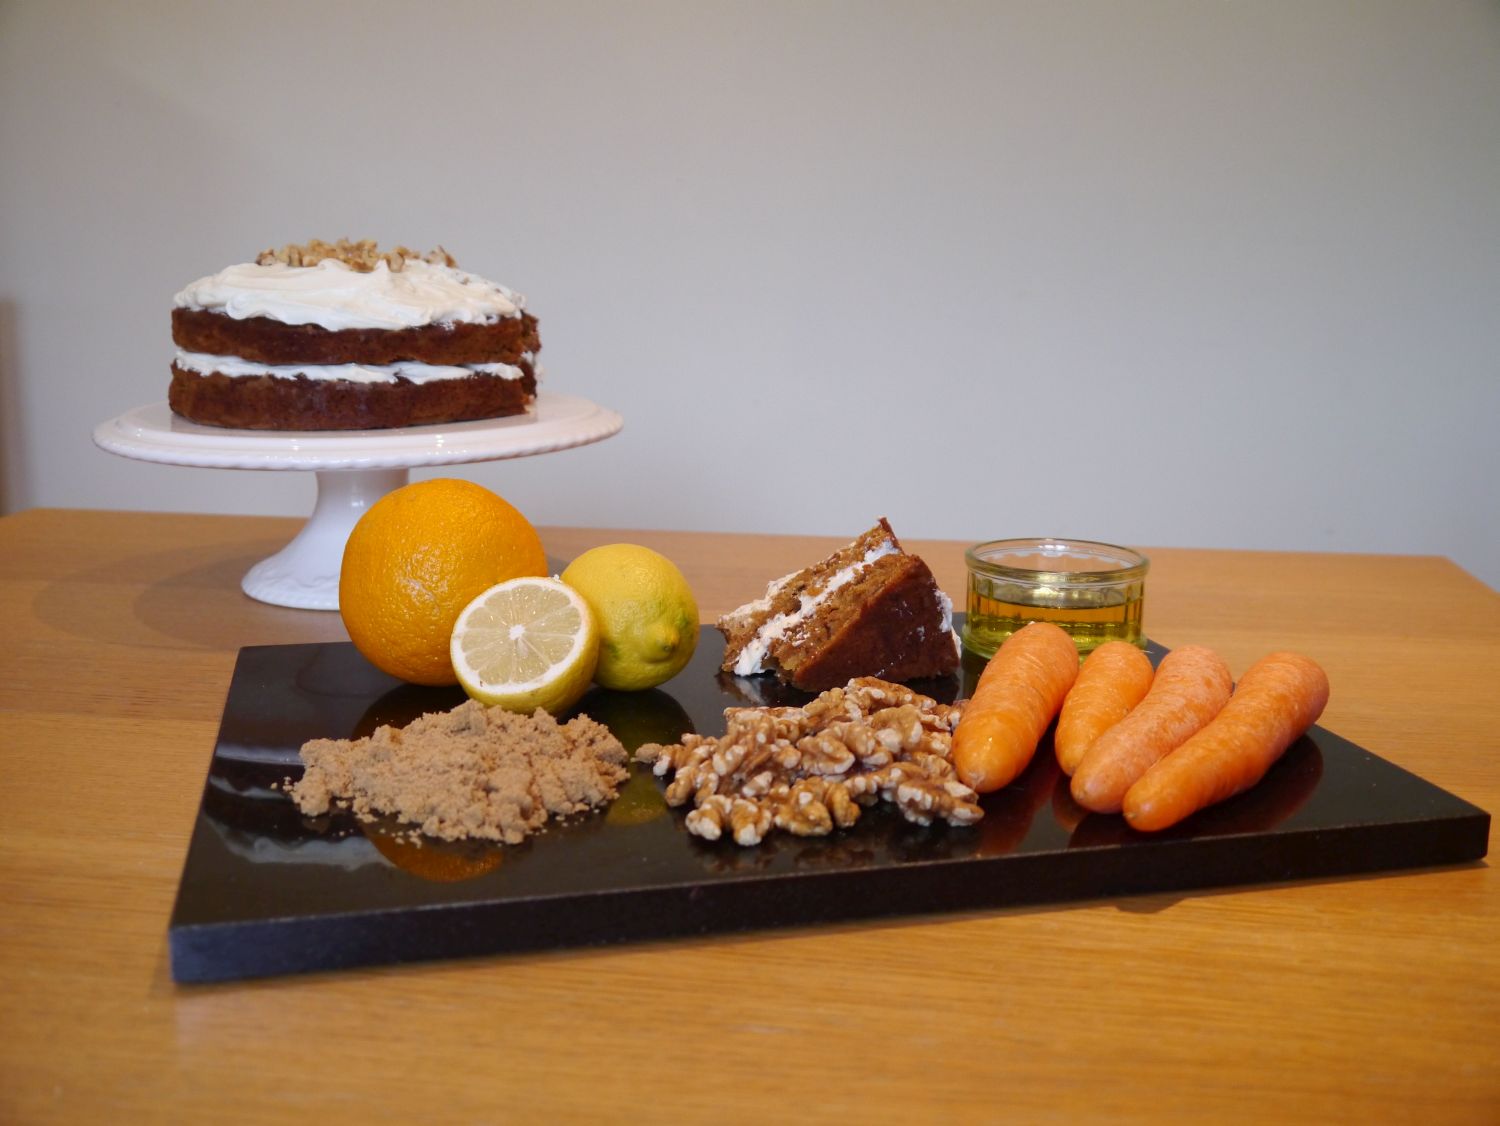 This carrot cake is adapted from the cake I made for Simba the Lion’s birthday a couple of years ago. As well as using lemon juice to sour the milk in this recipe I also added some orange juice to increase the range of flavours. Originally I was just going to make a showstopper Winnie the Pooh cake and iced buns this weekend but I took a carrot cake to work last weeka nd my children asked if they could make another one for them to eat. They really enjoyed the weighing and measuring and apparently it’s the nicest carrot cake ever!!!
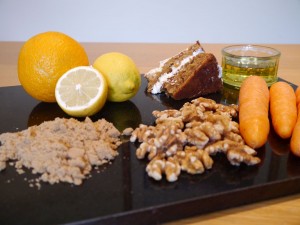


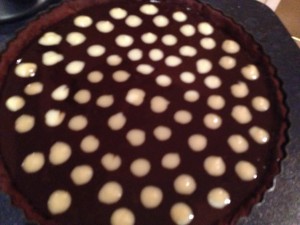
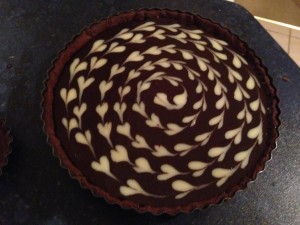

 So I decided to have a go at the technical challenge from this week’s GBBO, all very last minute and rushed (slightly cheating because it’s all normal meringue but here it is in all it’s sugary glory. It’s made with traditional meringe, 50g sugar to 1 egg whitewith an extra 50g of sugar so in this case 6 egg whites to 350g sugar, I made the base and top first, then the 3 rings for the sides. The remaining meringue I used round the edge, my oven was too hot initially hence the darker coloured top, I cooled itdown to finish the sides so they are a better colour. Inside is a strawberry and cream filing.
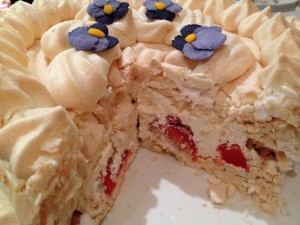
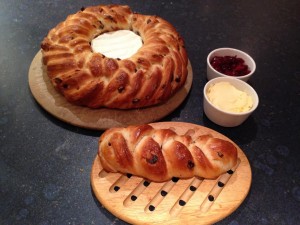 This week the contestants on the Great British Bake Off tackled bread. I haven’t seen the episode yet but from the trailers it looks challenging to say the least. Show-stoppers were bread sculptures which are very impressive but I’m not sure how practical it would be to make one at home. So this week my take on a show stopping bread was to remake the Cranberry wreath bread which I made at Christmas. It tastes amazing with home made cranberry sauce and baked Camembert. I took a picture of the base to show the plaiting on both sides however sadly it’s a bit blurry. You can find the recipe
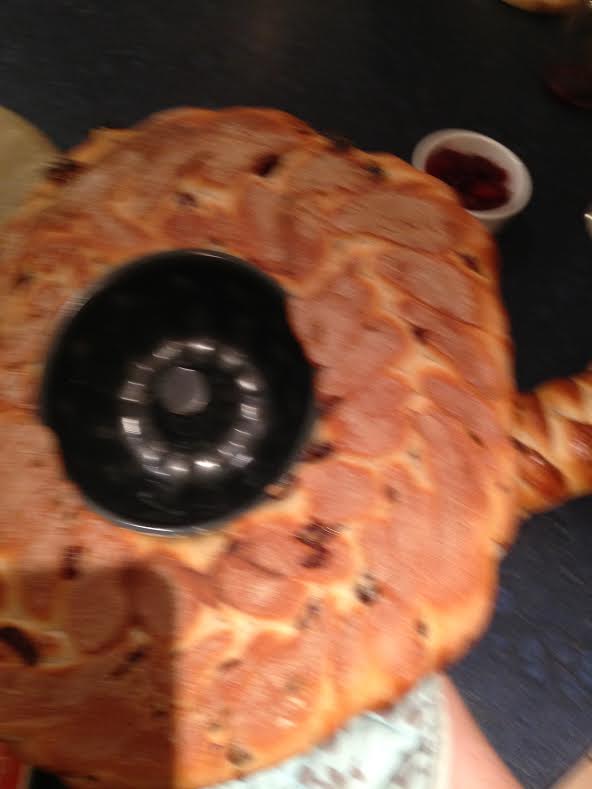


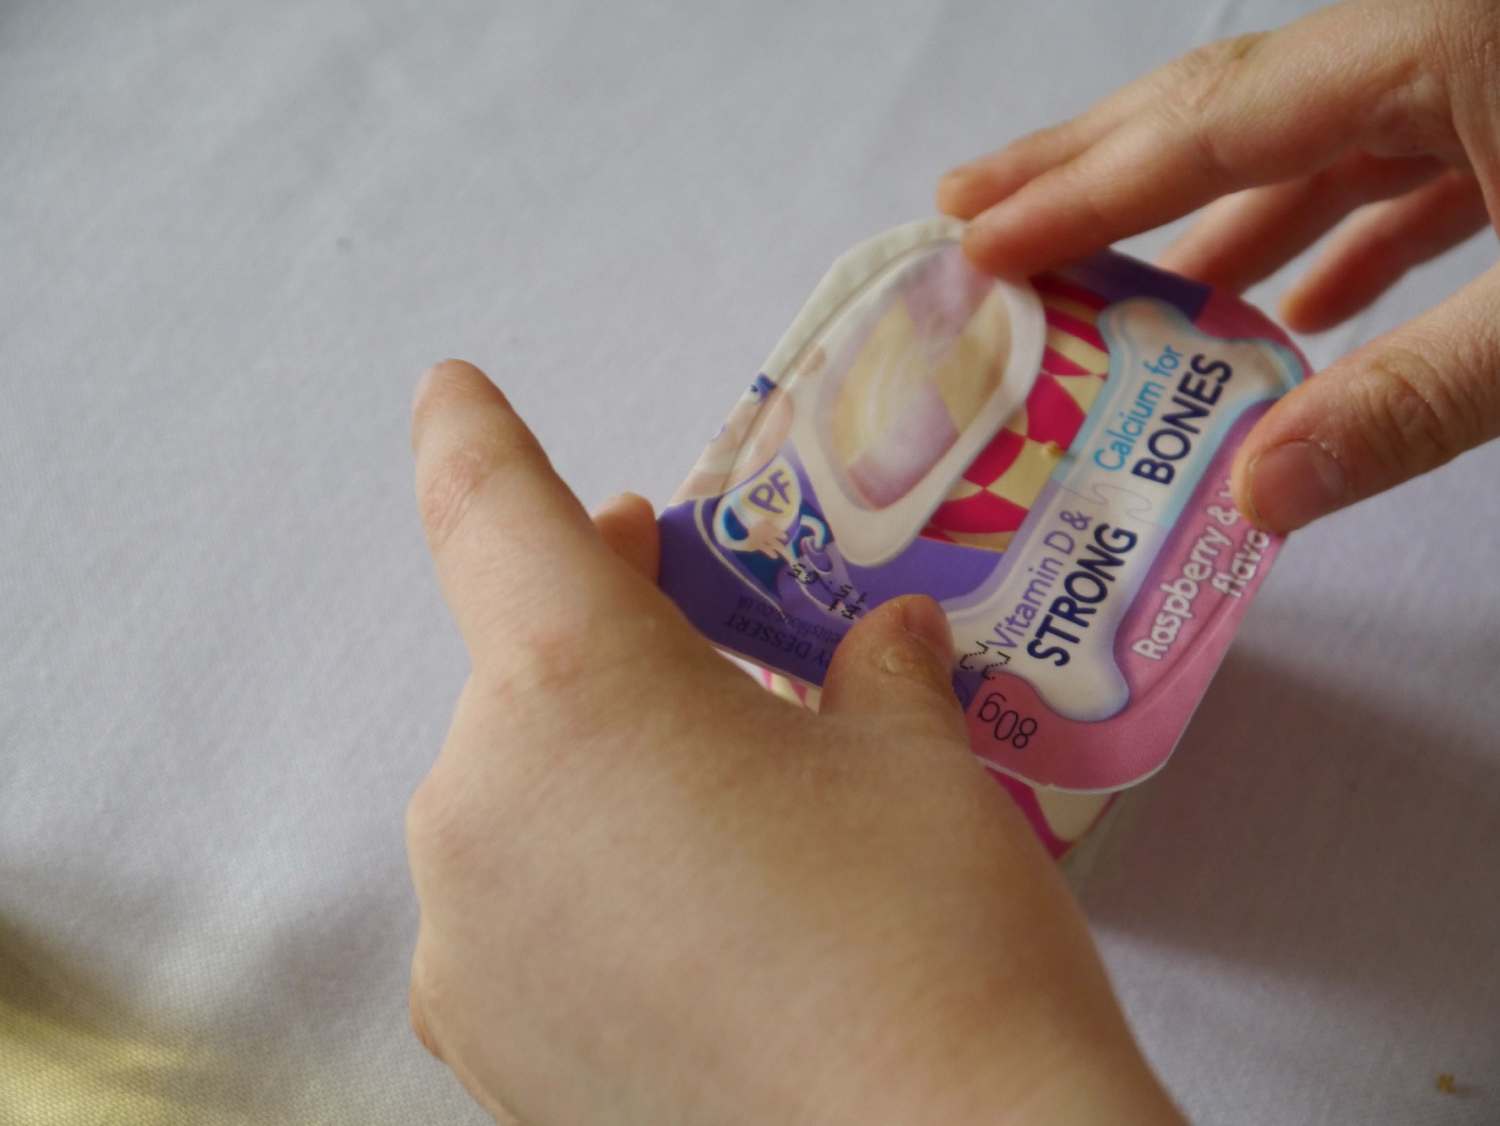
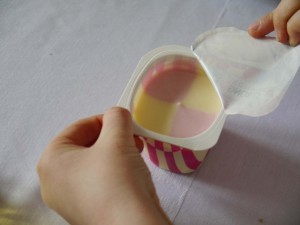
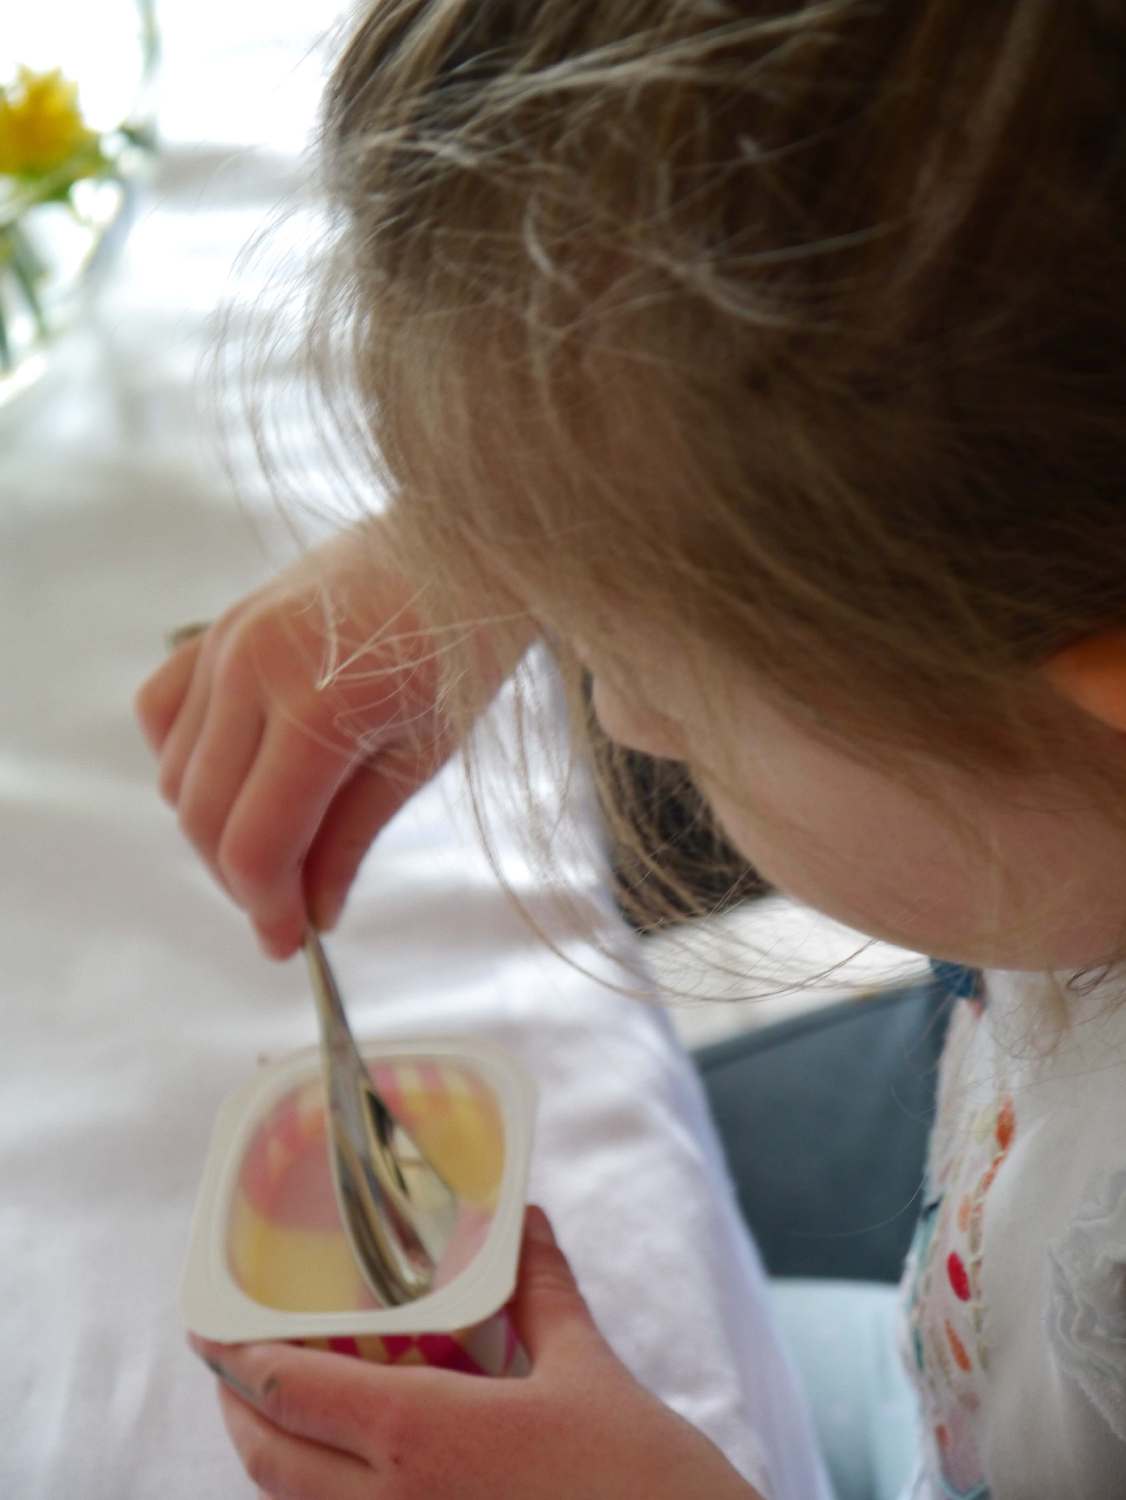
 We were recently asked to organise a playdate involving the new range of Petits Filous yoghurts called Magic Squares, a combination of either raspberry or strawberry and vanilla. My kids have been learning about 2D shapes so we had a tea party with different shaped food. Triangle sandwiches, circular carrots (just cut them into slices instead of sticks) and squares in the yoghurt. My two monkeys loved identifying all the shapes and changing them. “look mummy it’s a semi-circle” while eating half a carrot slice. The yoghurts were a big hit and I’ve been asked to get them “All the time”.